https://artfulparent.com/our-natur-suncatcher-box/
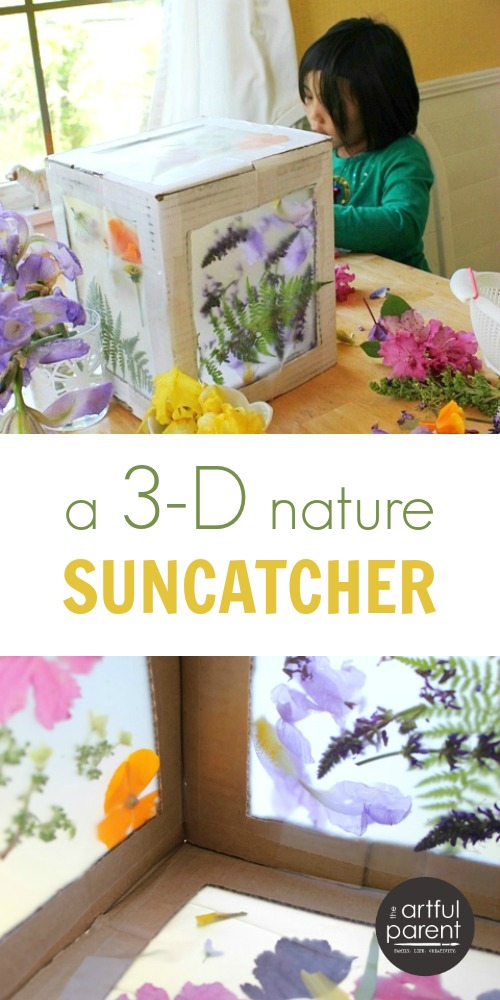
How To Make A 3D Nature Suncatcher
MATERIALS
- A cardboard box
- Transparent contact paper* (also called sticky back plastic)
- Nature items such as flowers, leaves, and ferns
- Scissors and x-acto knife
- Packaging tape (optional)
INSTRUCTIONS
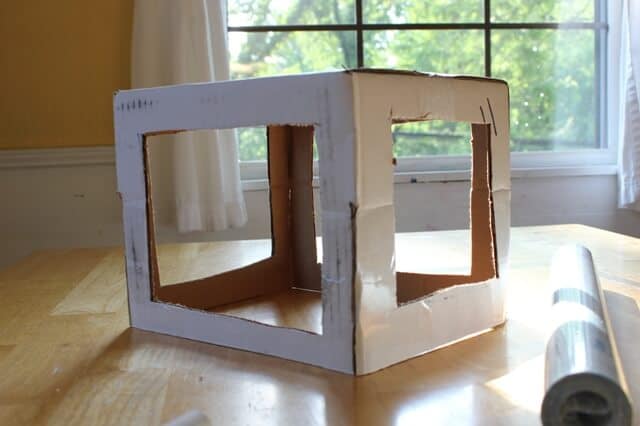
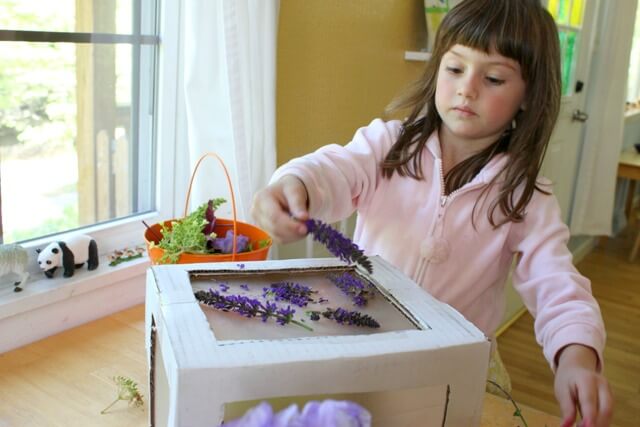
Step 1 :: I started with a simple cardboard box. It was relatively small so I taped the flaps up using packaging tape. Then, with an x-acto knife, I cut rectangles out of each side, leaving an inch or two of cardboard “frame” around each opening.
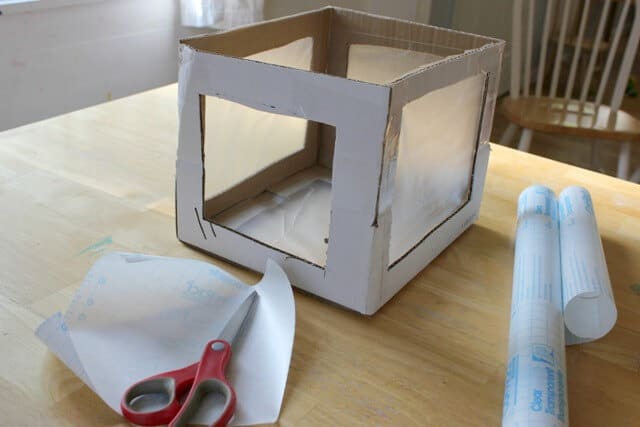
Step 2 :: Then I cut pieces of transparent contact paper to cover each of the framed openings. I applied the contact paper to the inside of box with the sticky side facing out.
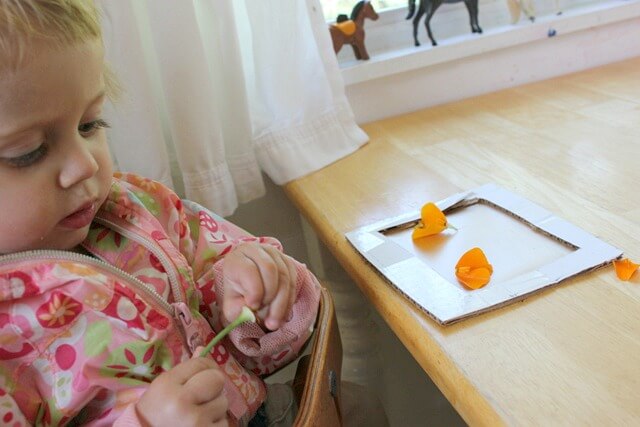
Note for younger kids: The cardboard that might normally be discarded is especially useful for occupying the youngest kids. For example, I turned the rectangles that I cut out from the box into frames themselves, with contact paper attached, for 2D suncatchers. Meanwhile, Daphne enjoyed drawing on the centers of those frames as I finished setting up the project.
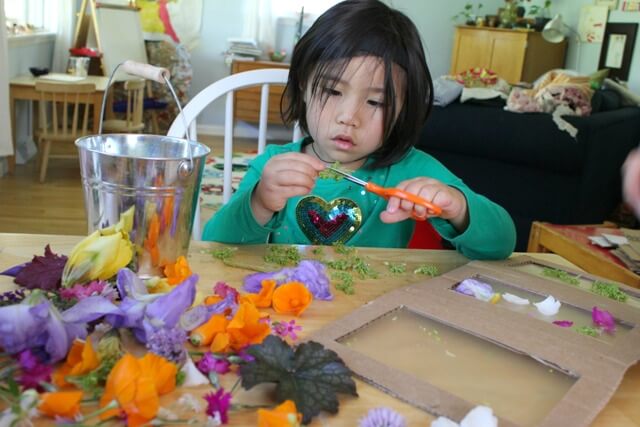
Step 3 :: The girls collected flowers, leaves, and ferns from around the garden for the 3D nature suncatchers.

Step 4 :: We piled their collections in the center of the kitchen table. The kids went to work attaching them to the sticky contact paper on the box and within the frames.
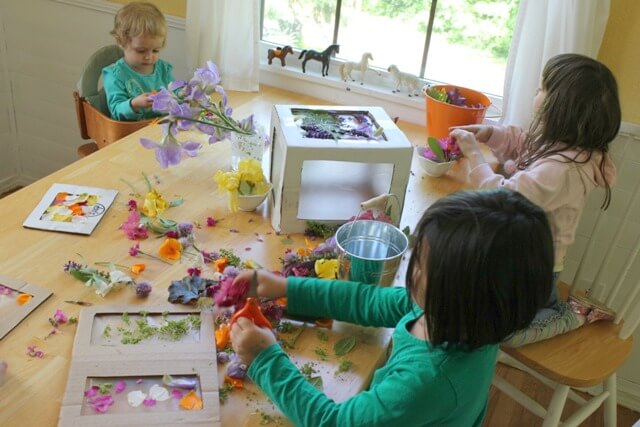
The girls experimented with what worked and what didn’t. Maia applied whole flowers but discovered that they didn’t stick as well as individual petals.
Stella used her scissors to cut flower petals and leaves into smaller pieces to apply to her framed triptych.
Daphne added flower petals then took them back off, added them, took them back off…
Step 5 :: Finally, we added another sheet of contact paper over the top of the flower petals to seal the panels.
